
Last updated November 14, 2026
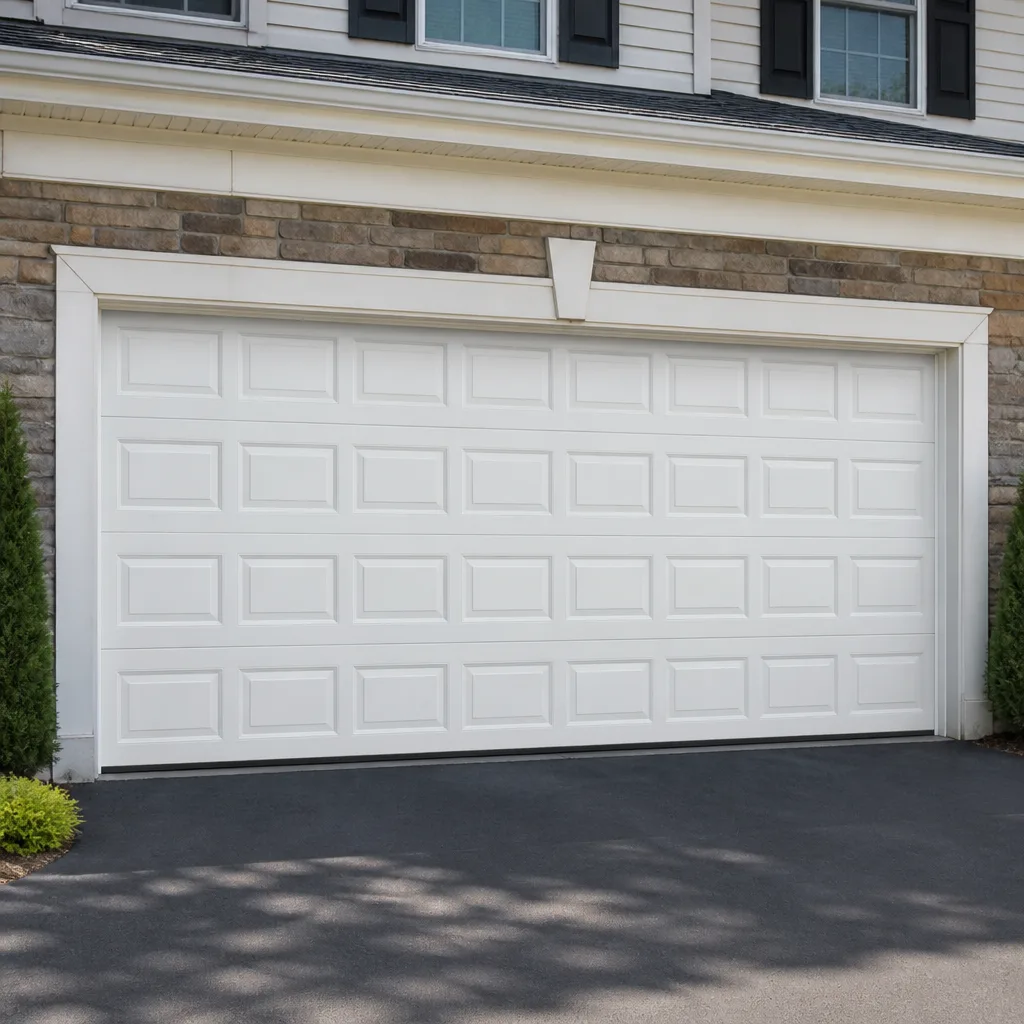 Raised-panel steel
 Carriage house
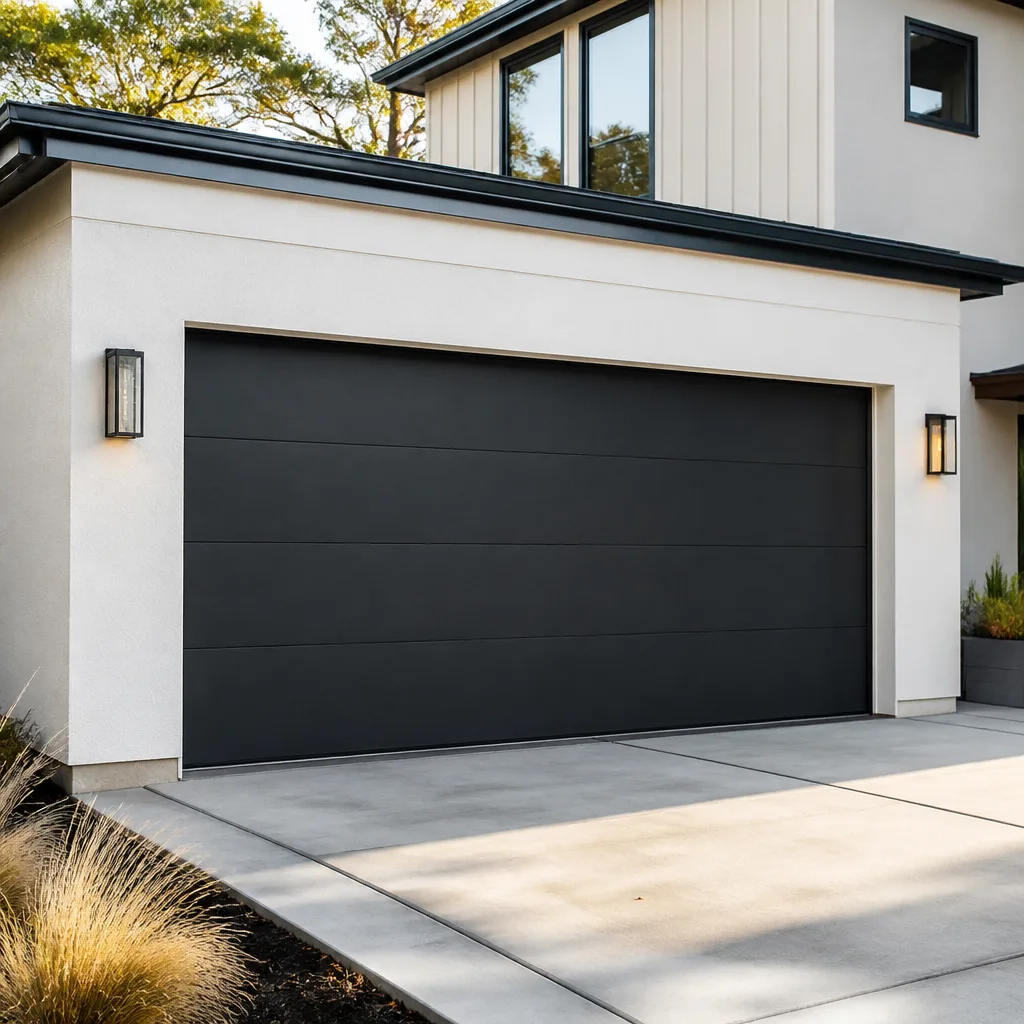 Modern flush
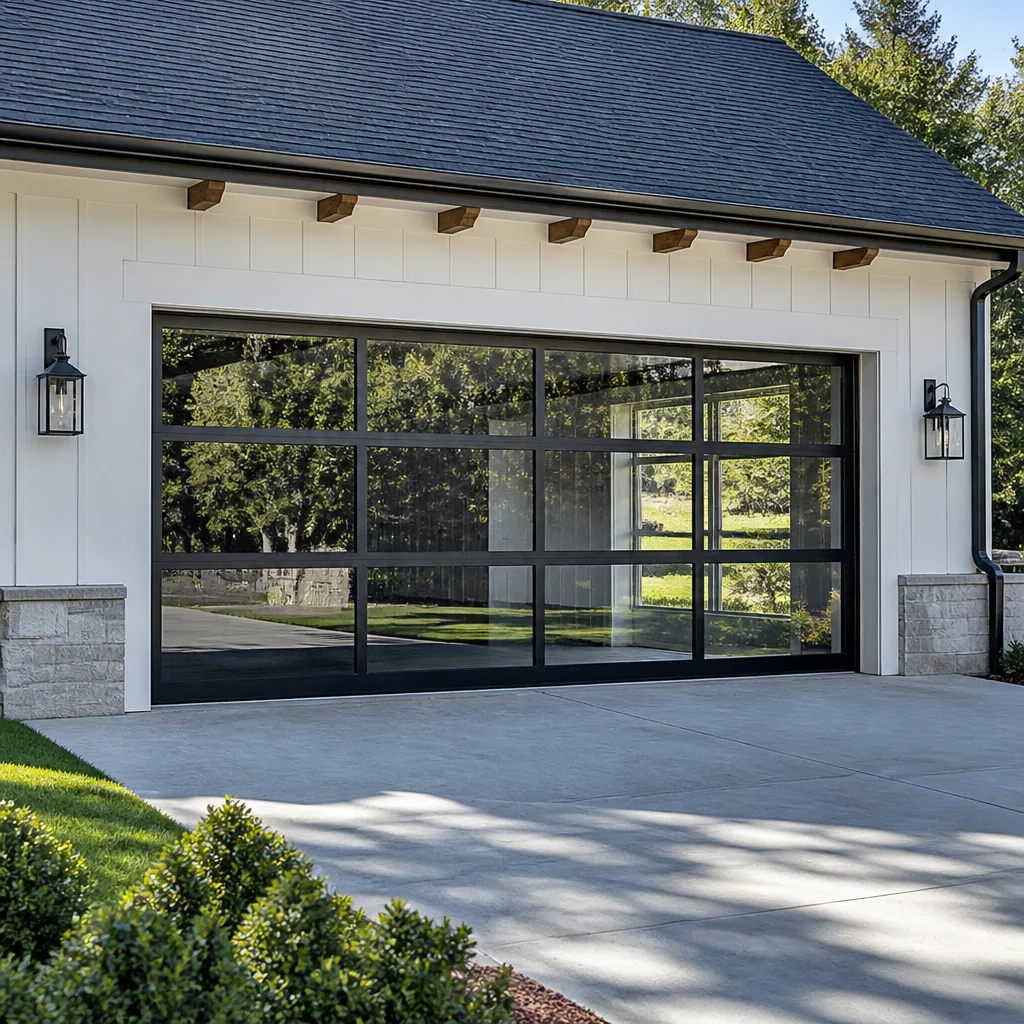 Full-view glass
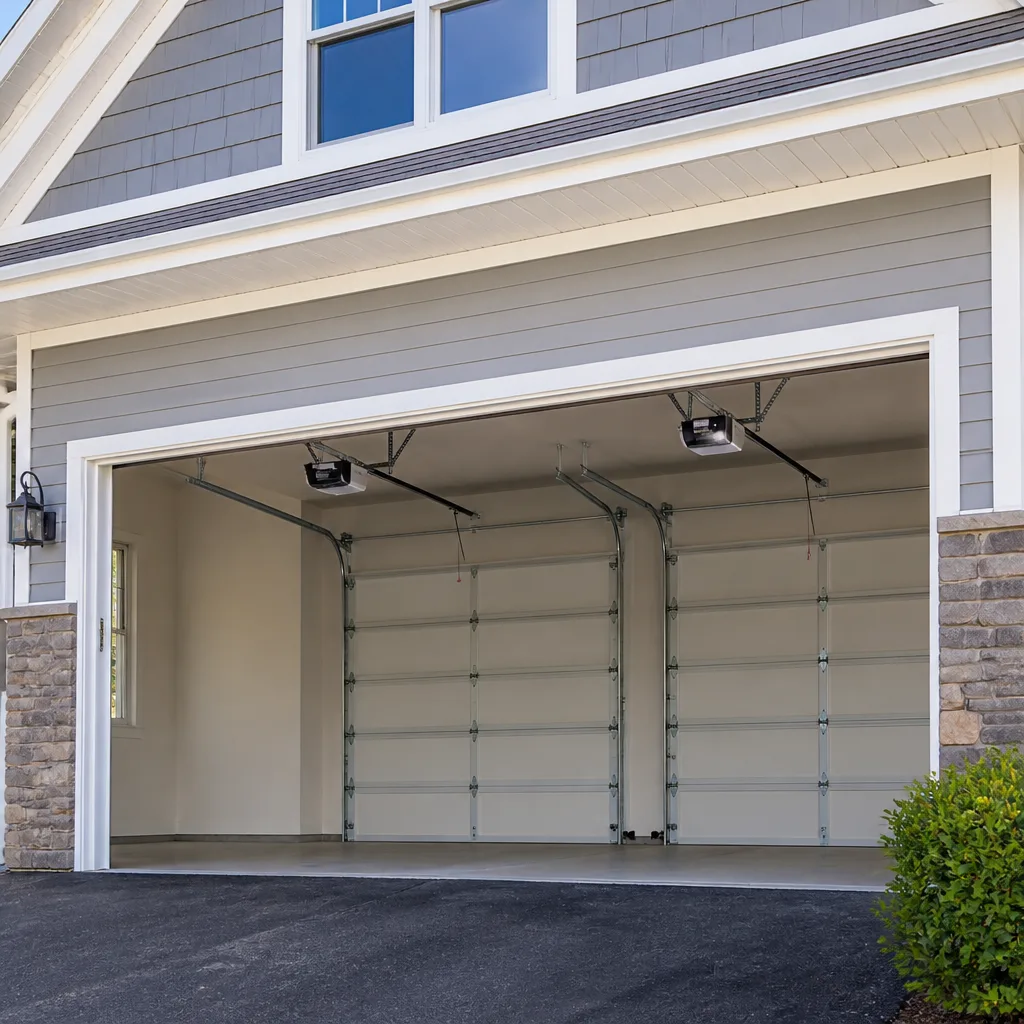 LiftMaster openers
 Chamberlain openers
Full 25-point door and opener safety check with every visit - springs, cables, rollers, tracks, and your LiftMaster or Chamberlain opener included
You get a price before we start. It does not change when the truck arrives.
Get your free estimateGarage Door Repair Maintenance Checklist for Kansas City Homeowners
Most maintenance checklists you’ll find online are recycled manufacturer PDFs written for a climate that isn’t yours. The failure patterns we see in Kansas City are different, and they’re seasonal. The calls that fill our schedule after a hard winter here are often not snapped springs at all. They’re door sections that warped and cracked because lubrication was skipped before the first hard freeze. That’s a cheap fix deferred into an expensive one. This guide is built backward from the actual problems a technician sees on Kansas City doors, so you’re preventing real failures instead of theoretical ones. You’ll learn what to check, when to check it on the KC calendar, and which jobs are honestly safe to do yourself.
Quick Answer
A working garage door maintenance routine in Kansas City has three anchors: lubricate the moving parts in late fall before the first freeze, inspect seals and weatherstripping in spring as clay soil settles and shifts, and test the reversal and balance every few months. Most tasks take under 30 minutes and are safe for a homeowner. Springs, cables, and anything involving the torsion system are not a do-it-yourself job – call a trained technician for those. Call (855) 525-9808 for a free estimate if something already looks or sounds wrong.
Styles & brands we work with
- Raised-panel steel
- Carriage house
- Modern flush
- Full-view glass
- LiftMaster openers
- Chamberlain openers
Table of Contents
- Why Kansas City Doors Fail Differently
- The Lubrication Schedule That Actually Matters
- Inspecting Seals and Weatherstripping for Clay Soil Settling
- The Reversal Test and Balance Test, Explained Plainly
- Which Tasks Are Safe for You and Which Need a Technician
- The Dated Log: A Kansas City Seasonal Maintenance Calendar
- Opener Care: The Half of the System Everyone Forgets
- When to Call a Professional
Why Kansas City Doors Fail Differently
Kansas City sits in a transition zone where a humid summer gives way to a genuinely cold winter, and that swing is hard on a garage door. Wood and composite sections take on moisture in the summer, then dry and shrink when the temperature drops. Steel panels expand and contract with every temperature change. Everything bolted to those panels – hinges, rollers, the track – moves with them. When the metal is dry and the guides are stiff, that movement grinds instead of glides.
Then there’s the soil. The clay that runs under much of the Kansas City metro swells when it’s wet and shrinks when it’s dry. A garage slab poured on that clay can heave and settle slightly with the seasons. It doesn’t take much. A slab that shifts even a fraction of an inch throws off the relationship between the door and the frame it closes into, and that’s where drafts, gaps, and uneven seal wear start.
Put the two together and you get a maintenance picture that’s specific to this region:
- Fall matters most for lubrication. Dry metal plus the first hard freeze is the recipe for warped panels and cracked sections. Get ahead of the cold.
- Spring matters most for seals. After a winter of freeze-and-thaw on clay soil, gaps show up at the bottom and sides of the door.
- Summer is inspection season. Heat and humidity are easier on hardware than cold, so use the warm months to check what the winter did.
A checklist built for a mild coastal climate misses all of this. A checklist built for Kansas City starts with the freeze and works forward. If you want the full picture of what our Graystone Garage Door Repair team handles, that’s where to start – but the routine in this guide is something you can run yourself for most of the year.
The Lubrication Schedule That Actually Matters
Lubrication is the single highest-value maintenance task on a Kansas City door, and almost nobody does it on the right schedule. The goal is to have every moving part coated before the first hard freeze, not sometime during winter after something starts squealing. When dry metal meets cold, the parts bind, and a door that’s fighting its own hardware puts stress on panels that weren’t designed to flex.
What to lubricate before the first freeze
Do this once in late fall, right around the time you’re putting away the patio furniture. It takes about fifteen minutes.
- Hinges. A drop of lubricant at each hinge pivot point, top to bottom. Don’t soak them – a small amount at the joint is what matters.
- Rollers. The bearing at the center of each roller, not the roller face. Steel rollers benefit most; nylon rollers need less but still appreciate it.
- The torsion spring coils. A light coat along the length of the spring reduces friction and quiets the door. This is lubrication only – do not attempt to adjust, wind, or unwind a spring. That’s the most dangerous part of the whole system, and it stays a technician’s job.
- The track curves. Wipe the curved section at the top of each vertical track where rollers travel through the turn. This is where most of the grinding noise originates.
- The opener rail and chain or belt. A light application keeps the drive quiet through the cold months. Check your opener manual for the specific lubricant type, since Chamberlain and Genie models can differ.
What you can skip the rest of the year
Here’s the part the generic checklists get wrong: they tell you to lubricate monthly. In Kansas City you don’t need to. Once the fall application is done, a light touch-up in spring is plenty for most doors. Over-lubricating attracts dust and grit, which turns into a grinding paste that wears parts faster than dry metal would. The vertical track itself should stay clean and dry – lubricant on the straight track surface collects debris and causes rollers to skid.
If a door is already noisy or binding, the fix may be more than lubrication. That’s when it’s worth looking at dedicated garage door repair rather than adding more grease.
Inspecting Seals and Weatherstripping for Clay Soil Settling
Bottom seals and weatherstripping are the parts homeowners look at least and should look at most, especially in Kansas City. The swelling and shrinking clay under a garage slab means the gap between the door and the floor can change from season to season. A seal that fit perfectly in October may show daylight in April.
The gap patterns to look for
Get down at floor level with a flashlight and look along the bottom of the closed door. What you see tells you what’s happening:
- An even sliver of light all the way across. The seal is worn or compressed. Usually a straightforward replacement.
- Light at one corner only. The slab has settled at that corner, or the door is out of level. Corner-only gaps are the classic clay-soil signature.
- Light in the middle, tight at both ends. The floor has crowned slightly under the door, or the bottom section has bowed.
- Daylight along one side, floor tight. The frame has shifted, often from soil movement at the foundation. Side gaps let in water and pests and are worth a technician’s look.
Check the side and top weatherstripping the same way. Run a hand along the seal with the door closed and feel for drafts. Gaps at the top corners after a cold snap often point to header movement, and that’s a structural question rather than a seal question.
Replace a bottom seal yourself if it’s simply worn – most are push-in or nail-on and don’t require special tools. But if the gap is at a corner or along one side, the seal isn’t the problem; the door or the floor is. In that case, a professional can tell you whether it’s a simple adjustment or a sign of something larger. Since 2011 we’ve seen plenty of Kansas City seals that got replaced three times before anyone addressed the settling underneath.
The Reversal Test and Balance Test, Explained Plainly
Every guide tells you to “test that the door reverses.” Almost none tell you what passing actually looks like. These two tests are quick and worth doing a few times a year, because they’re your first warning of an opener or spring problem.
The reversal test: how to do it safely
The reversal test checks that the opener’s safety system stops the door if something is in the way. Never test this with a person or pet under the door. Use a solid object instead.
- Open the door fully, then close it using the wall control.
- As the door comes down, place a flat object like a piece of wood or a thick book directly in its path.
- The door should contact the object and reverse to fully open within a second or two.
- If it doesn’t reverse, or it pauses before reversing, stop using the door and call for service. The safety system needs adjusting, and that’s not optional.
What passing looks like: the door contacts the object, stops within roughly an inch or two of travel, and goes back up smoothly. What failing looks like: it keeps pressing down, it reverses only after a long pause, or it stops and stays stopped. Each of those is a real problem. If your opener is a LiftMaster or Chamberlain with a photo-eye safety beam, also check that the beam is aligned and the indicator light is steady – a misaligned beam can cause intermittent failures that look like something else.
The balance test: is your door fighting its opener?
The balance test checks whether the springs are doing their job, which is to carry the door’s weight. A balanced door feels nearly weightless. An unbalanced one makes the opener work much harder, which shortens its life and stresses the whole system.
- Disconnect the opener using the release handle, with the door fully closed.
- Lift the door by hand to about waist height, then let go.
- A balanced door stays put, roughly where you left it.
- A door that drops fast or slides back down on its own is unbalanced. A door that wants to rise on its own is over-tensioned.
What passing looks like: the door hangs steadily at the halfway point with almost no drift. What failing looks like: it slams down, or it shoots up. Either way, don’t try to fix a spring tension problem yourself. Torsion and extension springs are under dangerous tension and can cause serious injury if handled without proper tools and training. If the balance test fails, that’s a call for a technician.
Which Tasks Are Safe for You and Which Need a Technician
A lot of maintenance advice hedges on this question to avoid any liability, which leaves homeowners unsure what’s actually safe. Here’s the honest version. Most of a garage door’s routine care is well within reach of an attentive homeowner. A few jobs are genuinely dangerous, and it’s not about insurance – it’s about the tension stored in the system and the height you’d be working at.
Safe to do yourself
- Lubricating hinges, rollers, springs (exterior only), and the opener rail.
- Wiping down the tracks and removing debris.
- Inspecting seals for gaps and drafts.
- Replacing a worn bottom seal when the floor is even.
- Tightening the bolts on hinges and the opener bracket (do not touch the springs or track adjustment bolts).
- Running the reversal and balance tests.
- Checking the photo-eye alignment on the opener.
- Watching and listening for changes in noise, speed, or movement.
Needs a technician
- Anything involving torsion or extension springs. This is the highest-risk part of the door.
- Cable replacement. Cables are under tension and can snap violently.
- Track realignment – the track has to be moved in precise relation to the door.
- Panel replacement and hinge replacement on load-bearing hinges.
- Opener installation, wiring, and safety sensor troubleshooting beyond basic alignment.
- Any structural issue with the frame or header.
The reasoning is simple. Springs and cables hold stored energy, and when they let go unexpectedly, they don’t warn you. Panels and tracks have to be set within exact tolerances or the door binds and wears faster. Everything else is routine care that any careful homeowner can handle. If you’re not sure which category a problem falls into, call and describe it – we’ll tell you straight.
The Dated Log: A Kansas City Seasonal Maintenance Calendar
The best maintenance is the kind you don’t have to remember. Here’s a calendar built on Kansas City’s weather patterns rather than on the calendar in a generic guide. Write these dates in a notebook or on a note taped inside the garage, and note what you find each time. A dated log is how you catch a slow change before it becomes a repair.
Late September to early October
This is the anchor of the year. Lubricate everything on the fall list before the first freeze. Check the bottom seal for summer wear. Test reversal and balance while the weather is still mild. Listen for new noises. Note the date and what you did.
November, before the first hard freeze
Do a final sweep if you haven’t already. Confirm the door operates smoothly in cold weather. Check that the opener’s force settings are handling the colder door without strain. Listen for grinding – the cold makes dry parts noisy first.
February, mid-winter check
By February the door has seen weeks of cold. Walk the perimeter and check for gaps at the bottom corners, which is where cold weather gaps show first. Re-run the reversal test. A door that feels notably heavier in February than it did in October is telling you something.
March to April
Spring is seal inspection time. Check for corner gaps and side gaps from soil movement over the winter. Clean the tracks. Re-lubricate lightly. Test balance again – if the door is starting to sag, spring it. This is also the time to look at the whole system’s wear pattern.
June to July
Summer is a good time for the big picture inspection. Check panel condition, look for cracks or rust at the bottom of the door, and confirm the opener is operating quietly. Run both tests. Clean up the opener rail. Note any change in noise from earlier in the year.
August
Pre-season check. Look ahead to the fall. If there’s a worn seal, a noisy roller, or a hinge that’s loose, fix it now while the weather is warm and the schedule is easier. Then you’re ready for the September lubrication.
A simple log might look like: “Oct 3 – lubricated hinges, rollers, springs; bottom seal okay; reversal test passed; balance test passed, small drift left.” Three months later, when the log says something changed, you know it’s new. If you suspect something has moved from maintenance to repair, our Kansas City team can take a look.
Opener Care: The Half of the System Everyone Forgets
Homeowners think of the garage door and the opener as one thing. They’re two systems, and the opener deserves its own line on your checklist. A door that’s well maintained but pushed by a struggling opener will still fail sooner than it should. Genie, Chamberlain, and LiftMaster units all need the same basics: a clean rail, a properly adjusted force setting, aligned safety sensors, and a battery backup that actually holds a charge if your unit has one.
The parts of opener care that matter most in Kansas City:
- Cold-weather force settings. A door gets heavier in the cold. If the opener’s force is set too low, it may stop and reverse in winter, which looks like a sensor fault. Have a technician check the force settings before the first freeze.
- Sensor alignment. The photo-eye beam at the bottom of the door has to point at its partner within a narrow angle. Dust, cobwebs, and a bumped bracket all cause the door to reverse unexpectedly. Wipe the lenses and check alignment as part of the fall routine.
- The rail and chain or belt. A light lubrication before winter quiets the drive. If you have a belt-drive, check for slack. Chain drive, check for proper tension per your manual.
- The wall control and remote. Test both at the fall check. A remote that only works close to the door often means a battery or a logic board issue, not the door itself.
When the opener misbehaves, the fix is usually specific to the brand and model, which is why we treat garage door opener repair as its own discipline. Diagnosing a Genie logic board is a different job from adjusting a Chamberlain force setting, and treating them the same wastes time and often replaces parts that were never the problem.
Common Mistakes to Avoid
- Lubricating the vertical track surfaces. Many guides say to lubricate the tracks, and that’s wrong for the straight sections. Lubricant there collects grit and causes rollers to skid. Keep the straight track clean and dry; only the curves get attention.
- Waiting for a noise before lubricating. A squeak is the last stage of a problem, not the first. In Kansas City, the right move is the fall application before the freeze – by the time you hear it, the damage to the panel may already be underway.
- Forcing a winter door with the opener. When a door is stiff in cold weather, some homeowners just keep holding the button. That doesn’t fix it; it strains the opener and stresses the panels. If the door feels heavy, the problem is the door.
- Replacing a bottom seal without checking the slab. If the gap is at a corner, a new seal won’t fix it. The slab has moved, and the door needs adjusting or the seal needs a different profile.
- Ignoring a failing reversal test. This is a safety system. If it doesn’t reverse reliably, don’t use the door until it’s fixed.
- Assuming a manufacturer’s checklist fits your climate. Most generic PDFs are written for a mild climate. Kansas City’s freeze-thaw cycle and clay soil make the seasonal priority different.
- Tightening every bolt you can find. Hinges and brackets are fair game. Track adjustment bolts and spring hardware are not – those are set to specific tolerances.
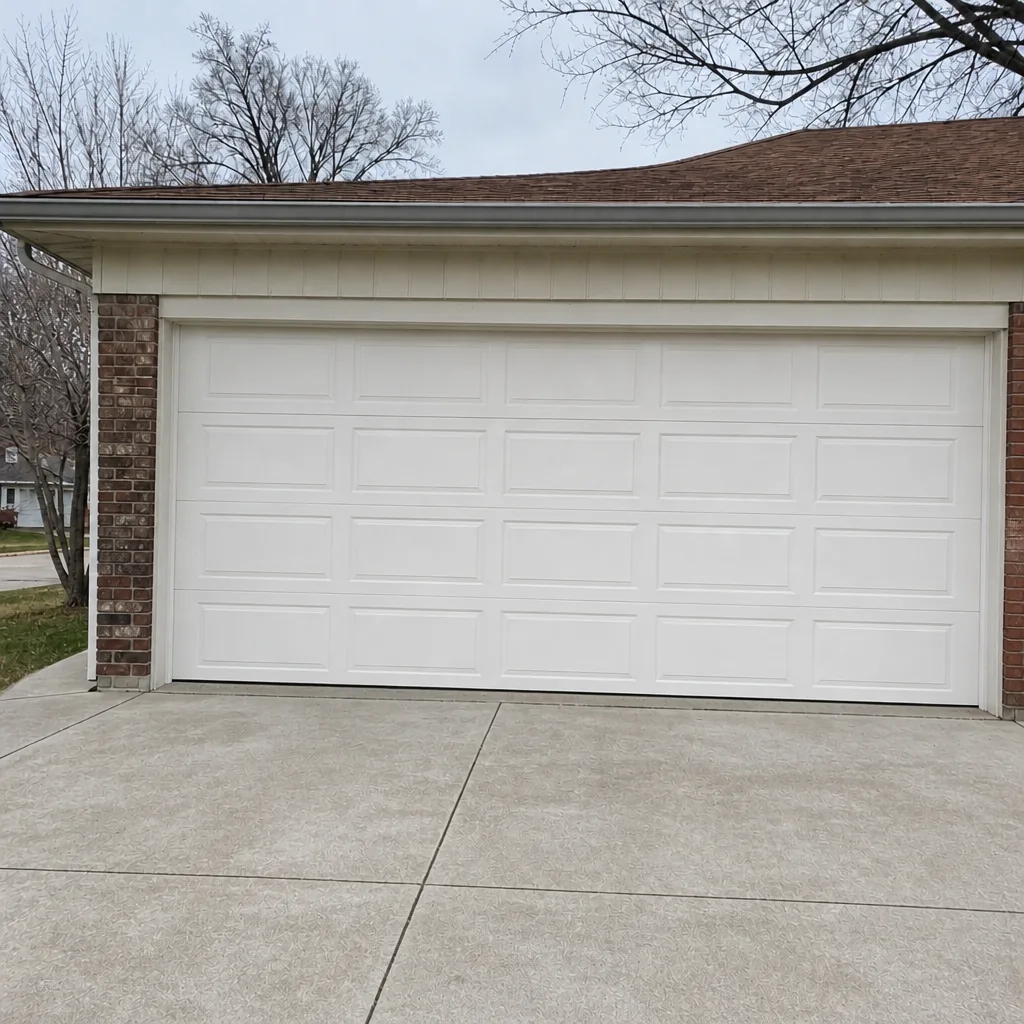
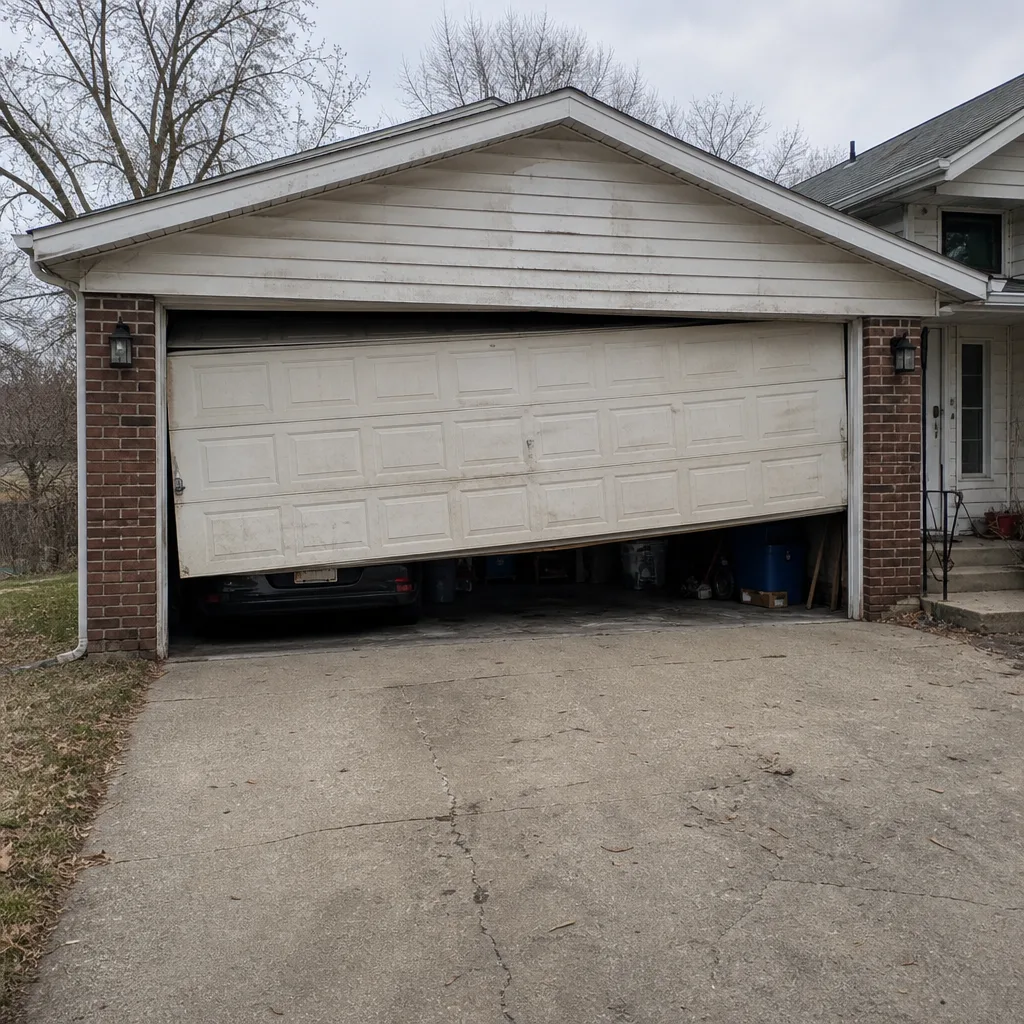
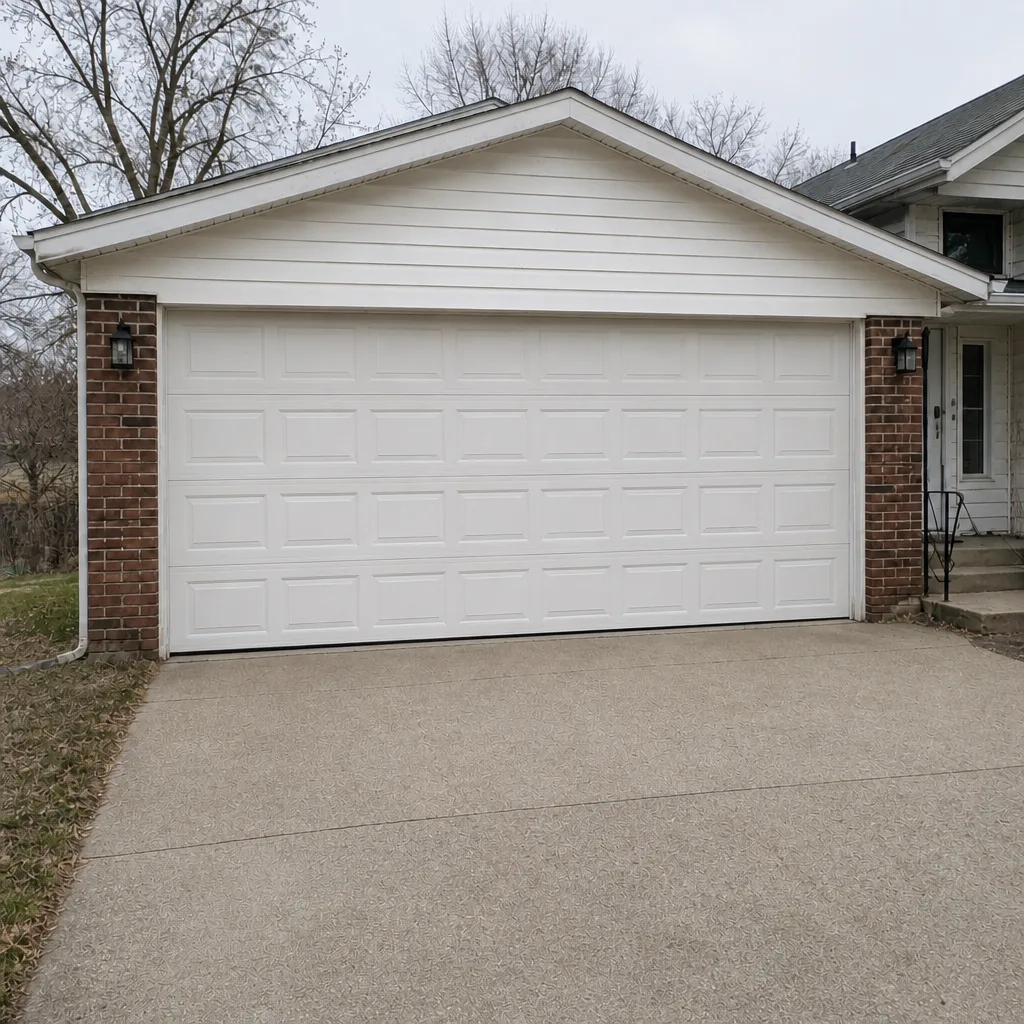
See the difference
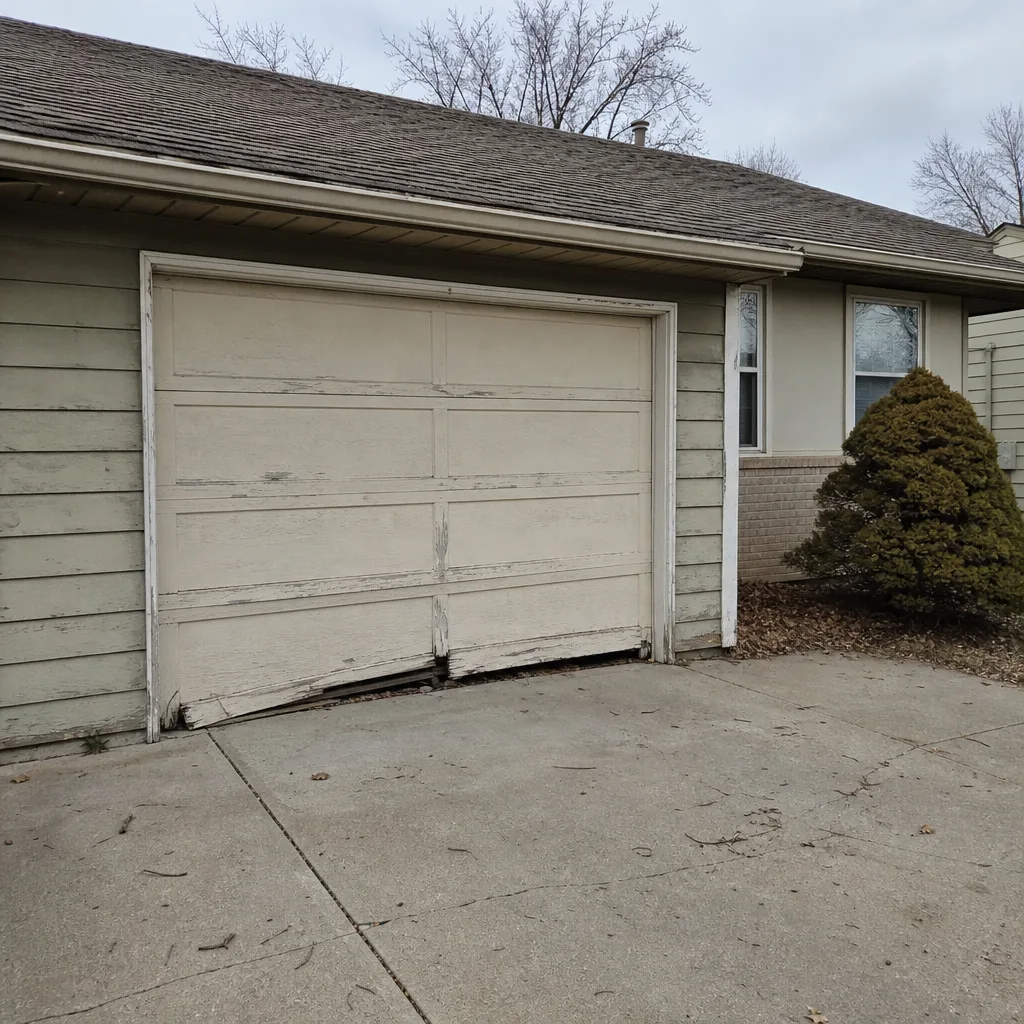 Before
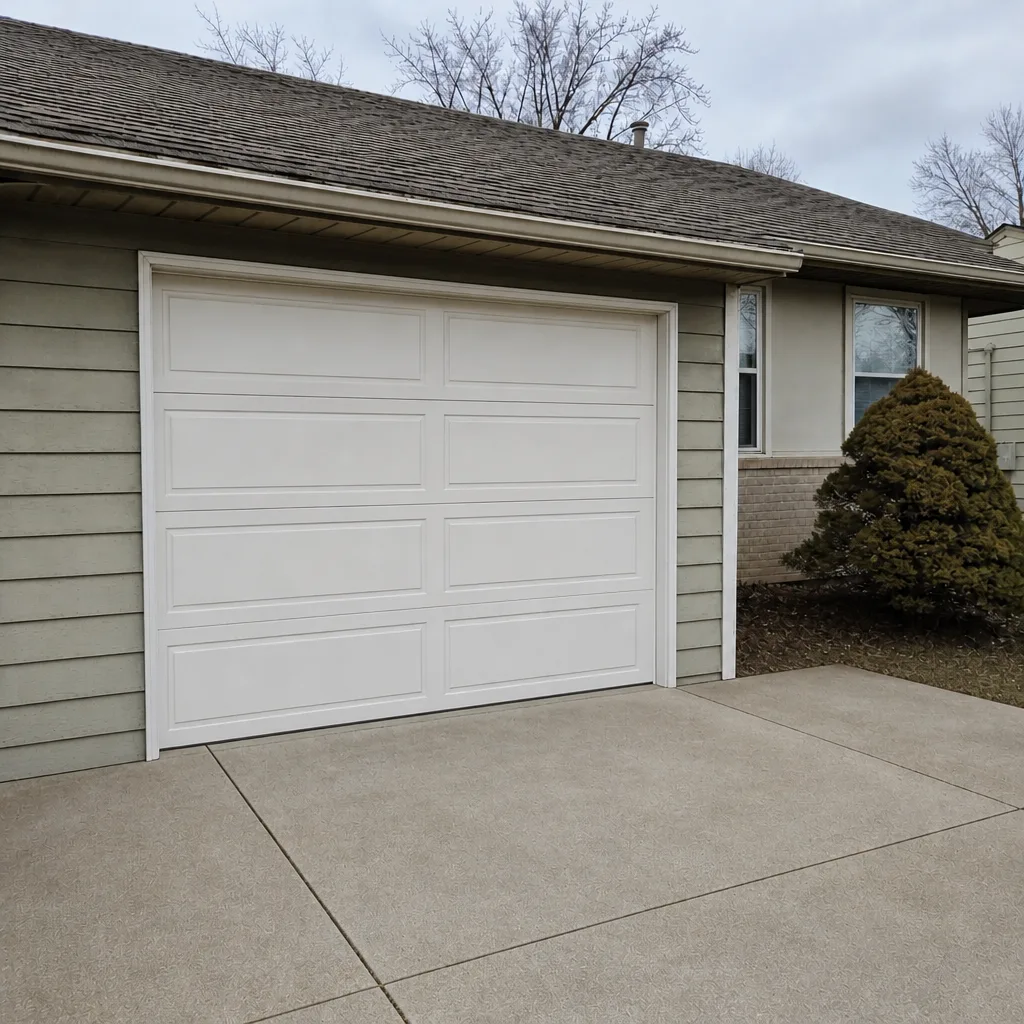 After
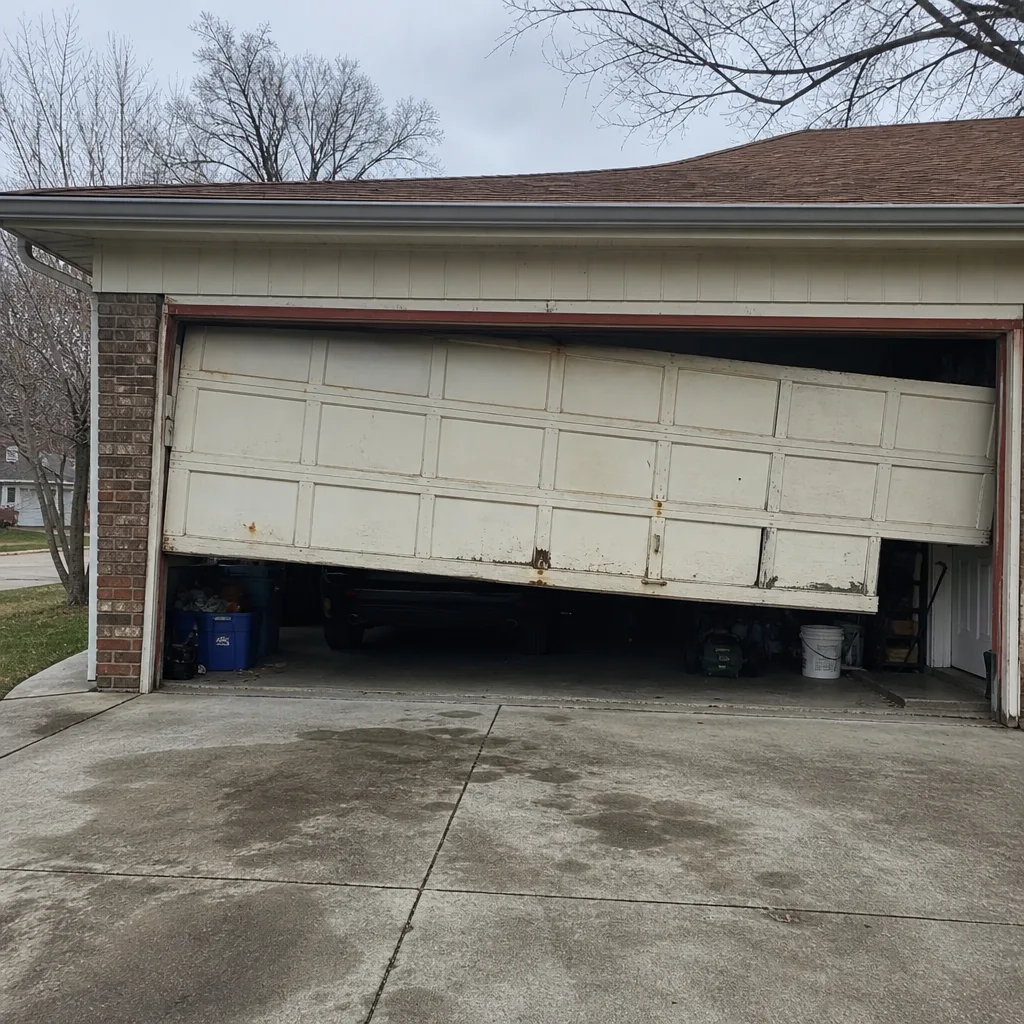 Before
 After
 Before
 After
When to Call a Professional
Some things are maintenance. Some are repair. A failed balance test, a door that drops on its own, a snapped spring, a cable that’s come loose, daylight along one side of a closed door, or an opener that reverses at random – these are all signs to stop and call. So is any door that feels heavier than it did a few months ago, or any grinding that doesn’t go away after lubrication. Springs and cables are under dangerous tension and aren’t a do-it-yourself job, and a door that’s binding can damage itself every time it moves. Graystone Garage Door Repair works on whatever brand is already on your door – Clopay, Amarr, CHI, and the rest – and we diagnose before we recommend anything. We offer free estimates in Kansas City. Call (855) 525-9808.
Frequently Asked Questions
Twice a year is enough for most doors here: once in late fall before the first freeze and a light touch-up in spring. Monthly lubrication is overkill and attracts grit that wears parts faster. The fall application is the one that protects your door through the cold. Call (855) 525-9808 if the door is already noisy or binding, since that often means more than lubrication.
A passing reversal test means the door contacts a solid object in its path and reverses to fully open within a second or two, without a long pause. Failing looks like the door pressing down, reversing only after a delay, or stopping and staying stopped. Never test this with a person or pet. If it fails, stop using the door and call us for service.
A one-corner gap usually means the slab has settled at that corner or the door is out of level, which is common with Kansas City’s clay soil. A bottom-seal replacement won’t fix that on its own, since the seal isn’t the problem – the floor or door is. Call (855) 525-9808 and we can tell you whether it’s a simple adjustment.
You can replace a worn bottom seal yourself if the floor is even and the gap runs evenly across the whole door. Most seals are push-in or nail-on and don’t need special tools. If the gap is at a corner or along one side, leave it to a technician, because the problem is the slab or the door, not the seal.
A door that feels noticeably heavier in winter is a warning sign, not normal. Cold stiffens lubricant and makes dry parts bind, and the fix is the fall lubrication. If it’s already heavy mid-winter, the springs or hardware may need attention. Have a technician check it rather than forcing it with the opener. Call (855) 525-9808 for a free estimate.
Yes, the opener is a second system and deserves its own check. Aligned safety sensors, a clean rail, a lightly lubricated chain or belt, and properly adjusted force settings are the basics. Have the force settings checked before the first freeze, since a cold door is heavier and can trip a setting that was fine in summer. Opener repair is one of our specialties across brands, so call (855) 525-9808 if the unit is doing anything unexpected.
The Bottom Line
Kansas City’s climate gives your garage door two high-risk windows a year: the first hard freeze, when dry metal binds and stresses the panels, and the thaw, when the clay soil shifts and opens gaps in your seals. The routine that protects against both is simple: lubricate before the freeze, inspect seals in spring, run the reversal and balance tests every few months, and keep a dated log so you can see what’s changing. Do the safe tasks yourself. Leave the springs, cables, and tracks to a technician, because they’re genuinely dangerous. And when something looks off, don’t wait for it to fail. Call (855) 525-9808 for a free estimate. We answer 24/7. Fast dispatch from 7am to 7pm, Sunday through Friday.
Written by the team at Graystone Garage Door Repair, serving Kansas City since 2011.